If you’re thinking about trying your hand at growing peppers, let me just say: starting with Poblano peppers is a solid choice.
Not only are they flavorful, but they’re also not too tricky to grow, even if you’re still finding your green thumb.
Plus, there’s something about picking your own homegrown peppers that just makes any meal better.
So, whether you’re a beginner or a bit more experienced, this guide will help you with everything you need to know about how to grow Poblano peppers.
Why Grow Poblano Peppers?
Before we dive into the how-to’s, let’s chat about why Poblano peppers should be on your list.
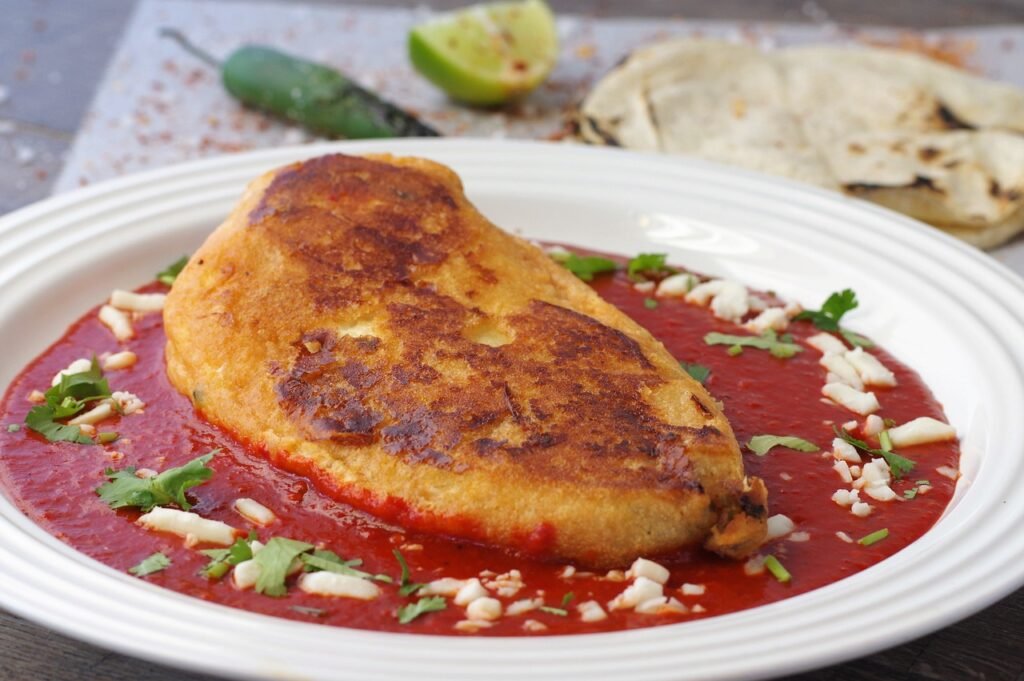
They’re versatile in the kitchen and work in everything from roasting to stuffing (hello, chile rellenos!).
They also have a mild heat, making them perfect for people who like a little spice but not too much. And honestly, there’s nothing like the satisfaction of using fresh ingredients straight from your garden.
Choosing the Right Spot
One of the first things you’ll need to think about is where you’re going to plant your Poblanos.
These peppers love sunshine, so pick a spot that gets plenty of it—about 6-8 hours of full sunlight each day.
But here’s something that might surprise you: too much intense sunlight all day long can sometimes stress the plants.
So, if you live in an especially hot climate, you might want to provide them a bit of afternoon shade. It’s all about finding that balance.
Quick tip: If you’re planting in pots, make sure they’re large enough (about 12 inches in diameter). Poblanos need room to spread their roots.
How to grow Poblano peppers from seeds

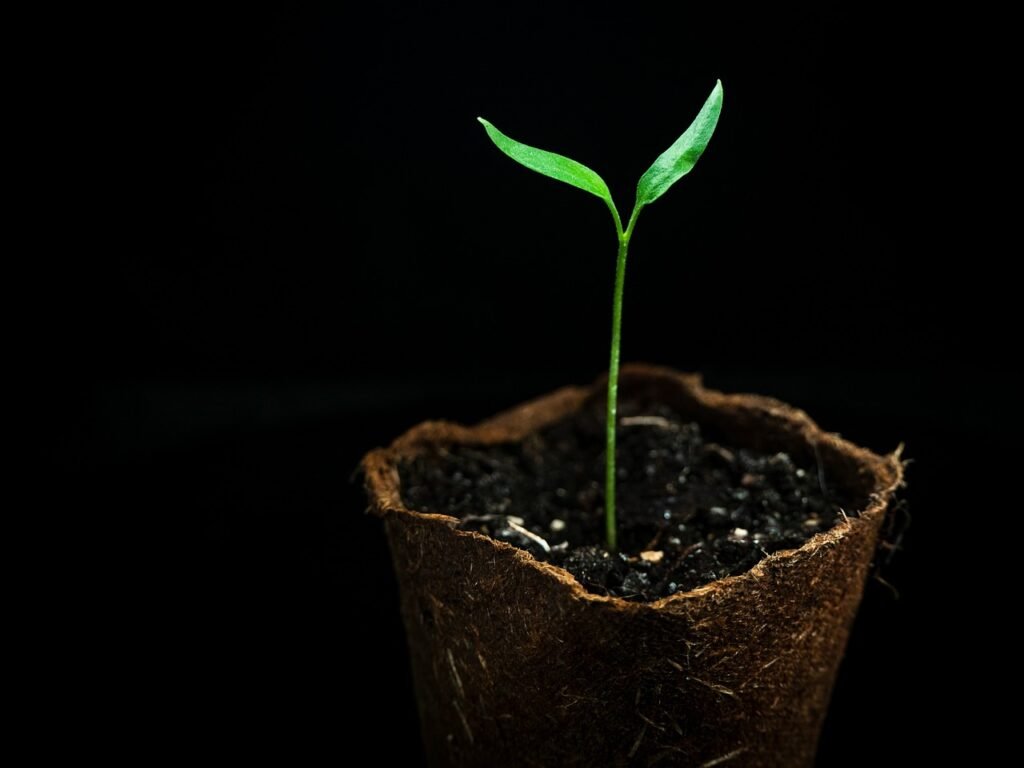
If you’re feeling brave (or patient), you can start your Poblanos from seeds.
Keep in mind, though, that they take a while to germinate—sometimes up to two weeks—so don’t panic if you don’t see them sprout right away.
You’ll want to start your seeds indoors about 8-10 weeks before the last frost date in your area.
Starting your seeds
1. Plant the seeds about 1/4 inch deep in seed-starting soil.
2. Keep them warm. Poblanos like temperatures between 75-85°F to germinate properly.
3. Water them regularly, keeping the soil moist but not soggy.
4. Once your little seedlings have two sets of leaves, you can transplant them into larger pots or into your garden.
Personal story: The first time I grew Poblano peppers from seeds, I was so impatient that I kept checking on them every single day. When they finally sprouted, it felt like winning the lottery (okay, maybe not that intense, but still). Moral of the story: be patient with your seeds!
Transplanting Your Seedlings
When your seedlings are about 6-8 inches tall and the weather has warmed up, it’s time to transplant them into the garden or a bigger pot.
Just make sure you wait until after the last frost, as Poblanos are warm-weather plants and don’t appreciate cold temperatures.
Transplanting to the garden
A) Dig a hole slightly larger than the root ball of the plant.
B) Space your plants about 18-24 inches apart so they have room to grow.
C) Water them well after transplanting, and keep the soil moist but not drenched.
Watering and Feeding

Poblano peppers are like Goldilocks when it comes to water—not too much, not too little. Keep the soil consistently moist, but make sure it drains well so the roots don’t get waterlogged
If you’re not sure how often to water, check the soil with your finger. If the top inch is dry, it’s time to water.
As for feeding, you’ll want to give your Poblanos a little boost with fertilizer every few weeks.
A balanced fertilizer (like a 10-10-10 mix) works well. If you want to go the organic route, compost or well-rotted manure is great, too.
Tip: Mulching around your plants can help retain moisture and keep the soil temperature consistent.
Dealing with Pests and Diseases
Every gardener’s least favorite topic: pests.
The good news is that Poblanos aren’t too prone to diseases, but you’ll still want to keep an eye out for the usual suspects, like aphids, whiteflies, and spider mites.
If you see any, don’t panic—there are plenty of natural ways to handle them.
Tips for handling pest issues:
A) Spray plants with a mixture of water and a few drops of dish soap or use a premixed insecticidal soap.
B) Encourage beneficial insects like ladybugs to hang out in your garden.
C) Keep the garden area clean and free of debris, where pests like to hide.
Also, watch out for blossom end rot, which is caused by inconsistent watering and a calcium deficiency.
It shows up as a dark, sunken spot on the bottom of your peppers. To avoid this, water consistently and consider adding some crushed eggshells, or a calcium supplement, to your soil for extra calcium.
Supporting Your Plants
Poblano peppers tend to grow quite tall, and as they get heavy with peppers, the branches can bend or even break.
To avoid that heartbreak (trust me, I’ve been there), stake your plants early on. You can use bamboo stakes or even a tomato cage to keep them upright.
Harvesting Your Poblanos
Now for the exciting part: harvesting your Poblanos!
Depending on when you planted them, you should have mature peppers about 65-80 days after transplanting.
Here’s the fun part about Poblanos: you can harvest them while they’re still green for that classic mild flavor, or you can leave them on the plant a bit longer to turn red and develop a slightly sweeter taste.
Either way, they’ll be delicious.
How to Know When They’re Ready for Harvest
- The peppers should be about 4-6 inches long and have firm, glossy skin.
- Use garden shears or scissors to snip the peppers from the plant—don’t pull them off, or you might damage the plant.
Storing and Using Your Peppers

Once you’ve harvested your Poblanos, you’ve got options. You can use them fresh in salsas, sauces, or stuff them for a classic chile relleno.
They’re also great for roasting, which brings out a smoky sweetness.
If you’ve got more peppers than you can use right away, don’t worry! Poblanos freeze well. Just roast and peel them first, then pop them into reusable freezer bags for later use.
Quick tip: If you’re like me and sometimes forget to use the fresh peppers right away, freezing is a lifesaver. Roasting them adds an amazing depth of flavor, and you can pull them out of the freezer whenever you need to spice up a dish.
Troubleshooting Common Issues
Growing Poblano peppers is usually pretty straightforward, but sometimes things don’t go as planned. Here are a few common problems you might run into, along with some easy fixes:
Slow Growth
If your plants seem to be taking forever to grow, they might need more sunlight. Move them to a sunnier spot or trim back any plants or branches that are casting too much shade.
Yellow Leaves
This can be a sign of overwatering or poor drainage. Check your soil and adjust your watering routine as needed.
Small Peppers
If your Poblanos are smaller than expected, it could be due to a lack of nutrients. A little extra fertilizer can help give your plants the boost they need.
Blossoms Falling Off
This can happen if the temperature gets too high or if the plants aren’t getting enough water.
Make sure they’re well-watered and consider providing some shade during the hottest part of the day.
Final Thoughts
So, that’s the scoop on how to grow Poblano peppers! Whether you’re growing them in your backyard or in pots on your patio, these peppers are pretty easy to care for, and the payoff is definitely worth it.
There’s nothing quite like cooking with ingredients you’ve grown yourself, and Poblanos are a great way to start your pepper-growing journey.
So, whether you’re just starting or you’ve been gardening for a while, growing Poblanos is a fun and rewarding experience.
Just remember to be patient, stay consistent with watering, and enjoy the process!
Happy growing!
Explore more. Fear less.
- Why Road Trips are One of the Best Ways to Clear Your Mind - November 21, 2024
- 10 of the Best Pumpkin Patches in the U.S. - October 23, 2024
- 10 of the Most Colorful Fall Road Trips in the U.S. - October 22, 2024
